# QB-Core
## Basics
For this example we will install 1 weapon of my store named "WEAPON\_GOLDM".
### Step 1
First open the file "qb-core/shared/weapons.lua" and add the information of your weapon.
```lua
[`weapon_goldm`] = {['name'] = 'weapon_goldm', ['label'] = 'GOLDM', ['weapontype'] = 'Assault Rifle', ['ammotype'] = 'AMMO_RIFLE', ['damagereason'] = 'Ended / Rifled / Shot down / Floored'},
```
{% hint style="warning" %}
1. For 'name' should be the same of the spawn weapon.
2. You can change 'label' and 'ammotype' as your preference.
3. For 'weapontype' and 'damagereason' you should copy the same of the other vanilla weapons.
{% endhint %}
### Step 2
Now open the file "qb-core/shared/items.lua" and add more information of your weapon.
```lua
['weapon_goldm'] = {['name'] = 'weapon_goldm', ['label'] = 'GOLDM', ['weight'] = 1000, ['type'] = 'weapon', ['ammotype'] = 'AMMO_RIFLE', ['image'] = 'weapon_carbinerifle.png', ['unique'] = true, ['useable'] = true, ['description'] = 'A lightweight automatic rifle'},
```
{% hint style="warning" %}
1. For 'name' should be the same of the spawn weapon .
2. You can change 'label' , 'weight' , 'useable' , 'ammotype' , 'image' (this image should be in the html/images of your qb-inventory) and 'description' as your preference.
3. For 'type', 'unique' you should copy the same of the other vanilla weapons.
{% endhint %}
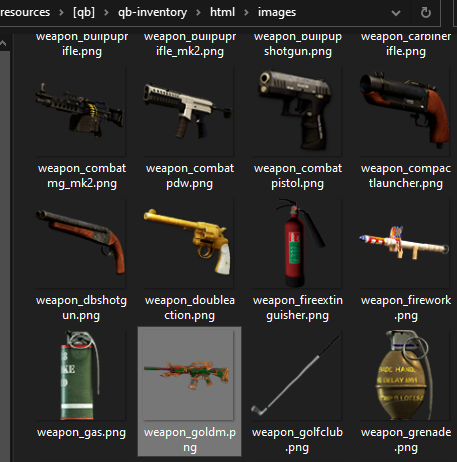
### \*Step 2.1 (Optional, only if you want to put a different image for your weapon in inventory, needs to be called in Step 2 - 'image')
Go to "qb-inventory/html/images" and paste the .png , should have the exact name that you used in Step 2 'image'.
### Step 3 (Adding Components)
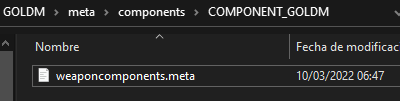
First you need to know what components does your addon weapon have, usually you can find them in 'weaponcomponents.meta'.
Usual path
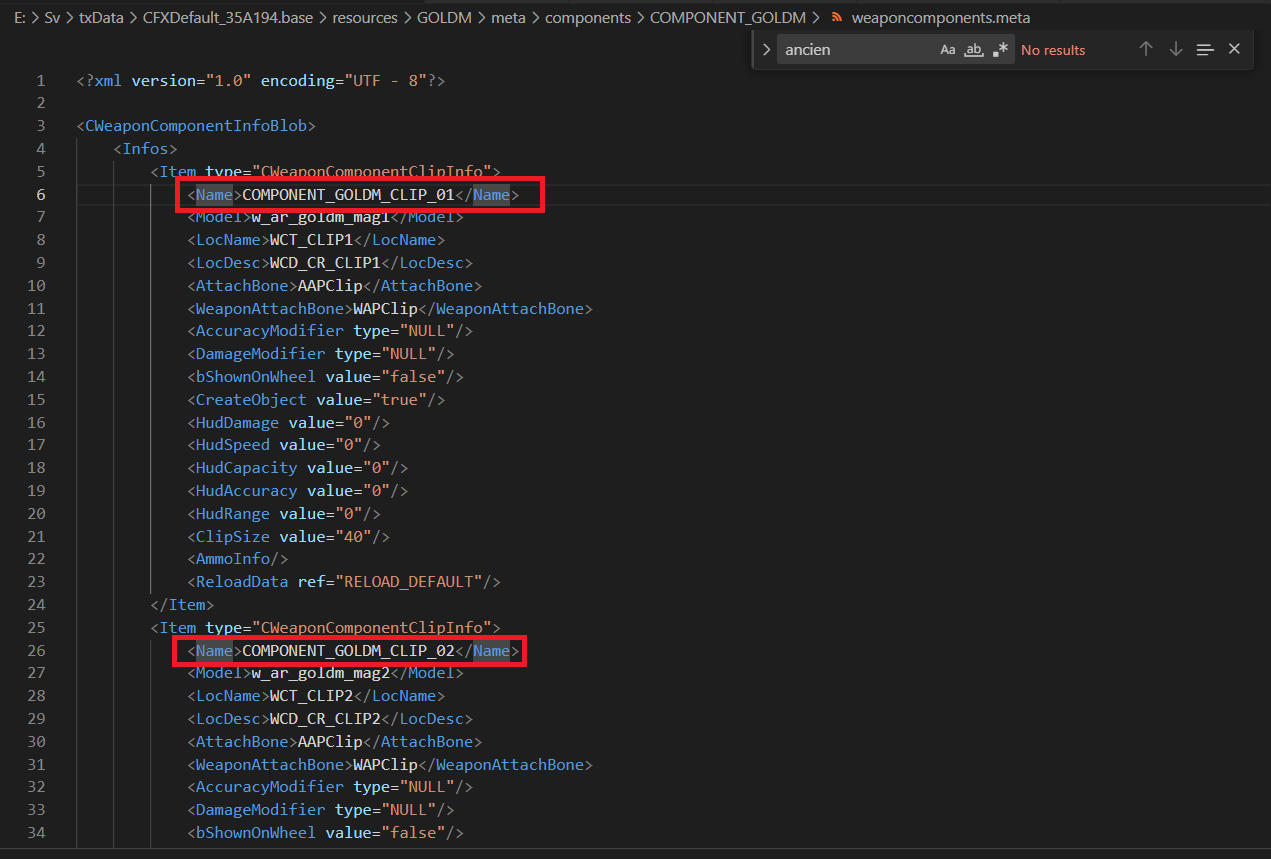
Now open the file and you can see all the components that your weapon have.
Name of components
Go to "qb-weapons/config.lua" and add the information of your components.
```lua
['WEAPON_GOLDM'] = {
['defaultclip'] = {
component = 'COMPONENT_GOLDM_CLIP_01',
item = 'carbinerifle_defaultclip',
type = 'clip',
},
['extendedclip'] = {
component = 'COMPONENT_GOLDM_CLIP_02',
item = 'carbinerifle_extendedclip',
type = 'clip',
},
['drum'] = {
component = 'COMPONENT_GOLDM_CLIP_03',
item = 'carbinerifle_drum',
type = 'clip',
},
['suppressor'] = {
component = 'COMPONENT_AT_GOLDM_SUPP',
item = 'rifle_suppressor',
},
},
```
{% hint style="warning" %}
1. For 'component' you should put the name of the component previously obtained in the weaponcomponents.meta.
2. For 'item' you should put the item that it will be used for apply the component, it should be a existing item of your "qb-core/shared/items.lua", in this case we use the vanilla items for trigger the use of our components.
3. For 'type' you should copy the vanilla options or just don't use that option if you have extra components that are not in vanilla normal options (stocks,barrels,etc...)
{% endhint %}
That's all , hope you like it!.
---
# Agent Instructions: Querying This Documentation
If you need additional information that is not directly available in this page, you can query the documentation dynamically by asking a question.
Perform an HTTP GET request on the current page URL with the `ask` query parameter:
```
GET https://leoshop.gitbook.io/leoshop/weapons/installing/qb-core.md?ask=
```
The question should be specific, self-contained, and written in natural language.
The response will contain a direct answer to the question and relevant excerpts and sources from the documentation.
Use this mechanism when the answer is not explicitly present in the current page, you need clarification or additional context, or you want to retrieve related documentation sections.